DVD2AVI
After starting up DVD2AVI, you have to add your source video files. Press F3 to bring up the file selection dialogue, then select your .mpv file.

Press OK to get back to the main DVD2AVI window.
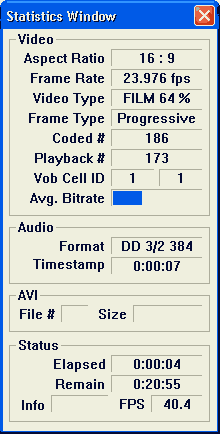
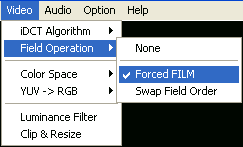
The next step is finding out what kind of movie we're dealing with. First of all select Video - Field Operation and set it to None. Then F5 to start the preview. Let it run for a bit and watch the status window.
 Here's
two thing you may want to write down: The first is Aspect Ratio. Here you'll
either get 16:9 or 4:3. The other is the frame type.
Frame Rate = 25.000 fps: your source is PAL. If the frame type is Interlaced, start the preview again and watch closely if you see no horizontal black lines going through the picture then the frames are actually progressive and you're already done here. If there are such black lines, try changing the field order by selecting Video - Field Operation - Swap Field Order and run the preview again. If you can still see horizontal lines reset the Field Operation to None, otherwise leave it as it is.
Frame Rate = 20.000 fps: your source is PAL and you have Forced Film activated. Set Field Operations to None to get the correct framerate.
Frame Rate = 29.970 fps: Let the preview run for a couple of minutes, then take a look at the Video Type: If it's FILM at a percentage higher or equal to 95% or if it only shows FILM you can activate Forced FILM as shown below. Otherwise you will have to perform IVTC (that process will be explained later on).
Frame Rate = 23.976 fps: This is the result of activating Forced FILM for an NTSC movie. If the Video Type is FILM or FILM at a percentage higher or equal to 95% you're all set. If the percentage is lower or the type is NTSC then you have to set Field Operation to None and perform IVTC (that process will be explained later on).

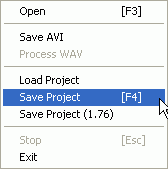
Now save the project:

This operation will create a small (a couple 100KB) .d2v file.
>> BACK