 Select
Recode Main Movie to Nero Digital to copy the main movie of a DVD.
Select
Recode Main Movie to Nero Digital to copy the main movie of a DVD.NeroDigital - Main movie
In the startup screen, you have 5 options to choose from:
Select
Recode Main Movie to Nero Digital to copy the main movie of a DVD.
The first thing to be done after selecting an operational mode is select / configure a profile.
Recode can add both Video and data files into a disc. By default you start out in the video mode and the Nero Digital Titles button is pressed.
![]()
By clicking on the DVD Data files button, you can add data files (for instance a media player, playback instructions, etc.). Just press the Add Files button and select the files you want to have added. You can then organize your data files just like you would in Windows Explorer.
To select the video source, press the Nero Digital Titles button again, then press Import DVD.
![]()
A regular Windows folder browsing window will pop up. Now you have to select your VIDEO_TS folder, either directly on the DVD disc (if AnyDVD or DVD Regionfree are installed), or from your harddisk and the folder you ripped the DVD to in step one. Recode will then perform a quick analysis of the source, which should take no more than a couple of minutes.
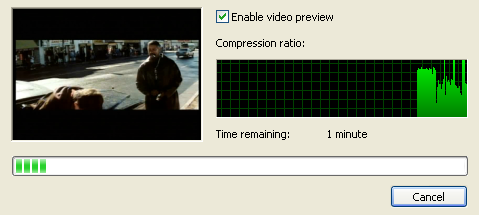
Once the analysis is done, Recode will show you details some details about the window in the main window:
 Be
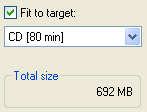
default, Recode will automatically set the slider such that all titles will
fit onto the default size you've set:
Be
default, Recode will automatically set the slider such that all titles will
fit onto the default size you've set:
 Don't
forget that Recode doesn't split the output before you select a 2+ CD size though.
Don't
forget that Recode doesn't split the output before you select a 2+ CD size though.
If you uncheck Fit to target, you are responsible for adjusting the video bitrate
on your own. In order to help you achieve this, Recode has the size bar which
shows you the current size of your project in relation to the chosen media size.
![]()
As long as the blue bar doesn't cross the red dotted line, you're okay.
Then you can go on configuring audio, video and chapters.
This document was last updated on December 31, 2004