NeroDigital - Recode DVDs and Videos
The first thing to be done after selecting an operational mode is select / configure a profile.
Recode can add both Video and data files into a disc. By default you start out in the video mode and the Nero Digital Titles button is pressed.
![]()
By clicking on the DVD Data files button, you can add data files (for instance a media player, playback instructions, etc.). Just press the Add Files button and select the files you want to have added. You can then organize your data files just like you would in Windows Explorer.
Press the Import Files button to select your source.
![]()
 Initially,
this dialog will be rather empty and you'll have to press the Browse button
and select the source path of your DVD (the VIDEO_TS directory either on your
HD or DVD), or select a DVD that's in a DVD drive. If you're opening the DVD
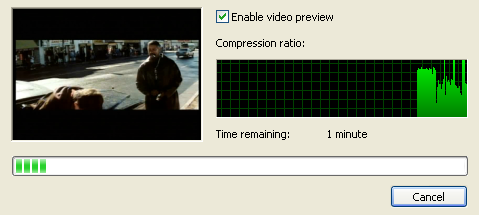
for the first time, Recode will quickly analyze the source and show you the
progress in the following window:
Initially,
this dialog will be rather empty and you'll have to press the Browse button
and select the source path of your DVD (the VIDEO_TS directory either on your
HD or DVD), or select a DVD that's in a DVD drive. If you're opening the DVD
for the first time, Recode will quickly analyze the source and show you the
progress in the following window:
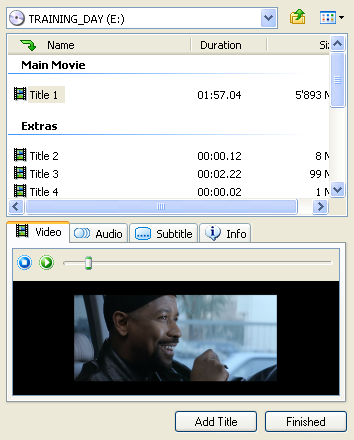
After the analyzation phase you'll get a listing of all video items available on the DVD, ordered by 3 categories: There's the Menus which are not interesting for Nero Digital output, the Extras and the Main movie. In case of an episodic disc you'd have multiple main movies all having about the same length. And if you have multiple main movies and the disc does not contain episodes, use the preview window to find out which Title you want to back up.
In the Info tab, Recode will also show you some more information about the video stream.
Once you've made your decision, select the appropriate title and press the Add Title button. You can add multiple titles by repeating this procedure, then press Finished to finalize the selection and get back to the main window.
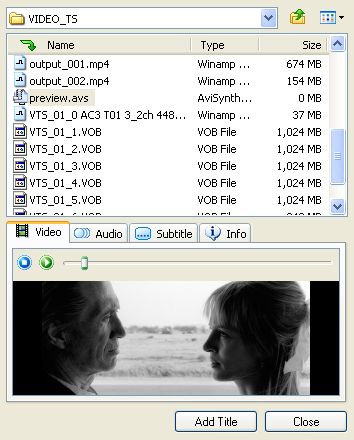
It is also possible to use certain files as source. For instance, VOB files, MPEG files, AVI files and even AVS files (AviSynth scripts). The selection mechanism is always the same. Instead of browsing to your DVD drive, you browse to a directory on your harddisk, and select a file. You then have the same preview facilities as you have for DVD titles.
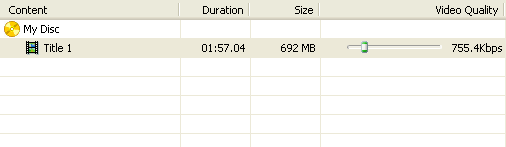
After having added one or several titles, you'll the list of titles that are going to be in your project:
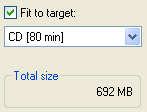
 Be
default, Recode will automatically set the slider such that all titles will
fit onto the default size you've set:
Be
default, Recode will automatically set the slider such that all titles will
fit onto the default size you've set:
 Don't
forget that Recode doesn't split the output before you select a 2+ CD size though.
Don't
forget that Recode doesn't split the output before you select a 2+ CD size though.
If you uncheck Fit to target, you are responsible for adjusting the video bitrate
on your own. In order to help you achieve this, Recode has the size bar which
shows you the current size of your project in relation to the chosen media size.
![]()
As long as the blue bar doesn't cross the red dotted line, you're okay.
In case you have multiple titles, you can still remove any you don't like. Simply select it, then press the Delete button.
If you decide to manually configure the bitrate by moving the slider around (increasing the video bitrate for one title will automatically decrease the bitrate for the rest such that the output will still have the same size), you can also use the Lock Ratio button to finalize the bitrate for one Title. From that point on, the automatic size adjustment will no longer be active for the selected title and you'll see a small lock symbol in front of the appropriate bitrate slider.
![]()
Then you can go on configuring audio, video and chapters.
This document was last updated on August 13, 2005