This is only going to be a quick explanation of how and when to apply the logo removal filters and which ones you can use when. Most of the time a logo filter will not be necessary at all, as you crop the logo away with almost any 16:9 movie you captured. Also some people prefer a clean logo over a blurry patch in the video. So again it is up to you if you want to use one, and it is worth all the hazzle. Anyway do not expect perfect results.
The basic rule is that you have to insert a logo removal filter as soon as possible. Every filter applied before any editing done (except trimming and deinterlacing) will make your results significantly worser. Also the general opinion in the doom9 forum is that, if you captured to anything except Huffyuv or MJPEG above 18 there's no sense in using a filter either.
This is basically it. Proceed with the VirtualDub post processing guide.
If you use AviSynth you have basically two choises: Xlogo (which is available as an AviSynth v2.5x plugin) or Dekafka (which is composed of native filters and can be found here). The latter is much faster, but also less advanced. Xlogo is briefly discussed, but a detailed discussion is added about the usage of the Dekafka filter.
It is possible to remove the logo natively in AviSynth using the (much faster) filter Dekafka. Copy the function (given in the link above) to a textfile and save it as dekafka.avsi. If you put this script in your autoloading plugin directory, it will automatically load itself. Otherwise you have to import it using the line
Import("e:\dekafka.avsi")
at the beginning of your script. Note that this filter will convert the clip and the maskclip to the colorformat RGB32, since this is the only format with an alpha channel (at least in all versions up to AviSynth v2.52). You should remove the logo after deinterlacing. We have chosen here to do it before any resizing. But if you want it to do after resizing, remember to make the mask of the logo after resizing.
creating a mask file
After deinterlacing your script looks like (for example) the following:
Import("e:\dekafka.avsi")
AviSource("d:\capture.avi")
Trim(begin, end)
Telecide()
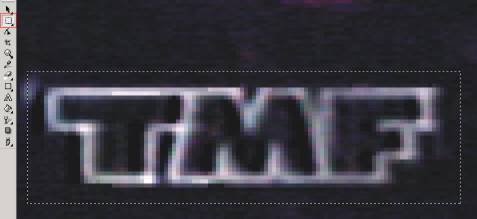
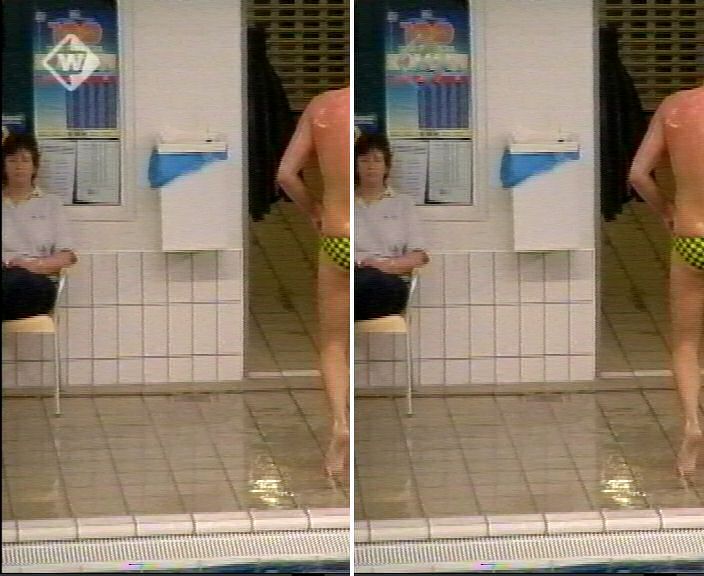
Open this script in VirtualdubMod, select "video" and "copy source frame to clipboard" (choose a frame where the logo is clearly visible). Import it into your favourite grapics program (for example using Corel photo-paint: "File" -> "New From Clipboard"). Cut the logo to a new document (for example using Corel photo-paint: draw a box with "Rectangular Mask Tool" -> "Copy" -> "Paste As New Document"), in such a way that the logo is surrounded (on all four sizes) by at least four pixels of the clip (enlarge your clip if necessary):
This results in:
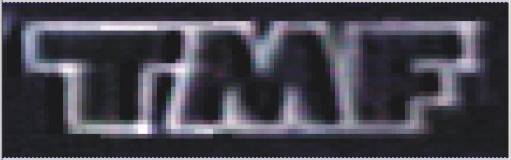
Make the logo while (including one pixel of the clip surrounding the logo), and the surrounding pixels black:

You have two options: make a avi-movie from it (for example using Corel photo-paint: "Movie" -> "Create From Document") or save it as a BMP/JPEG/PNG. Turn on the script-editor of VirtualdubMod and load your mask:
1) If you made a movie of your mask, your script becomes for example (the filter Loop is used here to make the maskclip of the same length as your clip):
Import("e:\pdwork\dekafka.avsi")
clip = AviSource("e:\pdwork\DO-Heaven.avi")
clip = Telecide(clip)
maskclip = AviSource("e:\pdwork\mask.avi")
Loop(maskclip, Framecount(clip))
2) If you made a picture of your mask, your script becomes for example (we used the filter ImageReader here to read the image, if you are using AviSynth v2.0x you have to use the plugin "ImageWriter"). The filter Loop is used here to make the maskclip of the same length as your clip:
Import("e:\pdwork\dekafka.avsi")
clip = AviSource("e:\pdwork\DO-Heaven.avi")
clip = Telecide(clip)
maskclip = ImageReader("e:\pdwork\mask.jpg", 0, 0)
maskclip = FlipVertical(maskclip)
# This is necessary when DevIL is reading the picture instead of AviSynth
internal BMP-parser.
Loop(maskclip, Framecount(clip))
adjusting your AviSynth script
Next, add the dekafka logo removal filter. The general syntax is given
by:
dekafka(clip clip, clip maskclip, int Xstart, int Ystart, int X, int Y, int Amount)
(Xstart, Ystart) is the left corner of the mask. Remember that the X-axis is runs from left to right and the Y-axis from top to bottom. "X" is the width and "Y" the height of the masklogo. Finally, "Amount" is the amount of blend between the clip and the masklogo (with amount=0 you will see the clip itself, with amount=256 you will see the masklogo and in between the clip and masklogo will be blend). Set it to 128 first, otherwise you might not see the masklogo :) Our logo is in the right upper corner, so we start at the position (Xstart, Ystart) = (500, 2):
Import("e:\pdwork\dekafka.avsi")
clip = AviSource("e:\pdwork\DO-Heaven.avi")
clip = Telecide(clip)
maskclip = ImageReader("e:\pdwork\mask.jpg", 0, 0)
maskclip = FlipVertical(maskclip)
# This is necessary when DevIL is reading the picture instead of AviSynth
internal BMP-parser.
maskclip = Loop(maskclip, Framecount(clip))
dekafka(clip, maskclip, 500, 2, maskclip.width, maskclip.height,
256)
Scroll slowely through the frames till you see the masklogo (that can be a tough job :)):
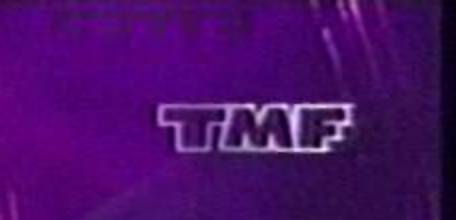
If you found the masklogo, change the the position (Xstart, Ystart) till the positions of the masklogo and logo coincide:
Import("e:\pdwork\dekafka.avsi")
clip = AviSource("e:\pdwork\DO-Heaven.AVI")
clip = Telecide(clip)
maskclip = ImageReader("e:\pdwork\mask.jpg", 0, 0)
maskclip = FlipVertical(maskclip)
# This is necessary when DevIL is reading the picture instead of AviSynth
internal BMP-parser.
maskclip = Loop(maskclip, Framecount(clip))
dekafka(clip, maskclip, 550, 48, maskclip.width, maskclip.height,
256)
At last, you can try to lower the "Amount" for a better result (if your logo is white, as in our case, you might leave it as "256").
There is an AviSynth logo-removal called Xlogo. In AviSynth you will have to enter the parameters manually (I recommend to use VirtualdubMod's script editor to adjust the parameters of Xlogo). Note that this plugin converses internally to RGB32, since this is the only format with an alpha channel (at least in all versions up to AviSynth v2.52). Also, the mask must have an even width/height.
But IF you decide to use AviSynth v2.5x and feel up to the task of manually specifiying the parameters in your AviSynth script, here's what you will have to add to your script:
Where all the other plugins are loaded:
LoadPlugin("c:\yourplugindir\xlogo.dll")
After deinterlacing:
Xlogo(Clip, filename, X, Y, ALPHA, T1, T2, T3, B1, B2, B3, WHITE,
SIDE, SCENE, FEATHER, NOISE)
Here's how a complete configured Xlogo command could look like:
AviSource("e:\pdwork\atomic.avi")
Telecide() # or some other deinterlace method
Xlogo("e:\guides\000000.bmp", 530, 38, 0) # Xlogo converts
internally to RGB32
Afterwards proceed as described in the AviSynth post processing guide.
Back to VirtualDub postprocessing
Back to AviSynth postprocessing
Back to the Index: HOME
Last edited on: 06/12/2004 | First release: n/a | Authors: Version4Team SteVe (killingspree) | Content by doom9.org